Hosting Ghost on AWS With EC2 and Route53
- Posted Tuesday, June 11, 2019 from Toronto, Canada
- 7 minute read
This post is about setting up an instance of the Ghost publishing platform using AWS. In particular EC2 and Route53. The use case for the architecture described in this post is as follows:
- You like Ubuntu, and would rather use it over Amazon Linux, or you don’t have any experience with Amazon Linux or Red Hat (this is why I originally chose this)
- Your Ghost implementation only needs to handle very low amounts of traffic
- You enjoy paying potentially zero dollars a month to host and are willing to spend some time in the AWS console
If so, continue reading on.
This post is written to to archive and document the architecture that was put in place and effectively hosted the Ryerson Computer Science Course Union’s main website – for years without downtime or headaches (ignoring a minor Minecraft server incident). Perhaps even, for more years to come should it be adopted by future teams.
Overview
Architecture
Let’s start with a quick overview of what we’re trying to set up. The diagram below shows what happens when a user tries to load the Ghost website.
    ┌───────┐       ┌────────┐      ┌───┐      ┌───┐
    │Browser│       │Route 53│      │EC2│      │EBS│
    └───────┘       └────────┘      └───┘      └───┘
        │                │            │          │
       ┌─┬──────────────▶─┐
       │1│              │2│           │          │
       │ │    Get A     │ │
       │ │    record    │ │           │          │
       │ │              │ │
       └┬◀──────────────┴┬┘           │          │

       ┌┴┬────────Get web page───────▶┴┐         │
       │3│                           │4├─ Read ─▶─┐
       │ │               │           │ │  from  │5│
       │ │                           │ │  EBS   │ │
       │7│        Return Ghost       │6◀────────┴┬┘
       └─◀───────rendered page───────┴─┘
        │                │            │          │

        │                │            │          │
- In order to load the website, the user must first figure out what the IP of the hosting server is. This is handled by DNS hosting via Route53.
- Here, (simplifying by ignoring the chain of DNS requests starting from the TLD root servers) the user sends a DNS request to Route53 for your domain, and the A record (IPv4) is returned.
- Next, the request is sent to the server addressed by the A record.
- The requests hits an EC2 virtual machine which is running the Ghost instance.
- The EC2 instance reads from elastic block storage, (ie. Hard Drive) for the content to server.
- The EC2 instance finishes rendering the page and sends it as the response.
- The user’s browser finishes rendering the page.
Let’s get to the actual set-up now.
Route 53 Disclaimer
Setting up the EC2 instance makes the most sense to set up first, since a DNS record cannot be created without first an IP address to map to. For this post, Route53 will be used, since although a different DNS hosting service could be used for free (typically along with your hosting registrar, ex. Name Cheap), once other AWS services are used (especially email) having Route53 automagically do record creation is nice.
However, this route means that you will be paying a few dimes a month for Route53 DNS hosting rather than host an A record using another DNS hosting service. It’s up to you to make the tradeoff of dimes versus effort versus vendor lock-in etc. I opted for Route53, and the rest of this post will outline that method.
Setting Up EC2 & Route53
Creating an EC2 Key Pair
Before we create an EC2 instance, we first need to add a key pair to allow for SSH via RSA keys since password login is disabled by default. You can see if you already have keys by executing the following command in your terminal
~ $ ls ~/.ssh
If the output contains id_rsa and id_rsa.pub you can continue on. If not, refer to these instructions for generating default SSH keys and adding them to ssh-agent. After key pairs are created, they have to be added to EC2 in order to be chosen as the login keys after instance creation.

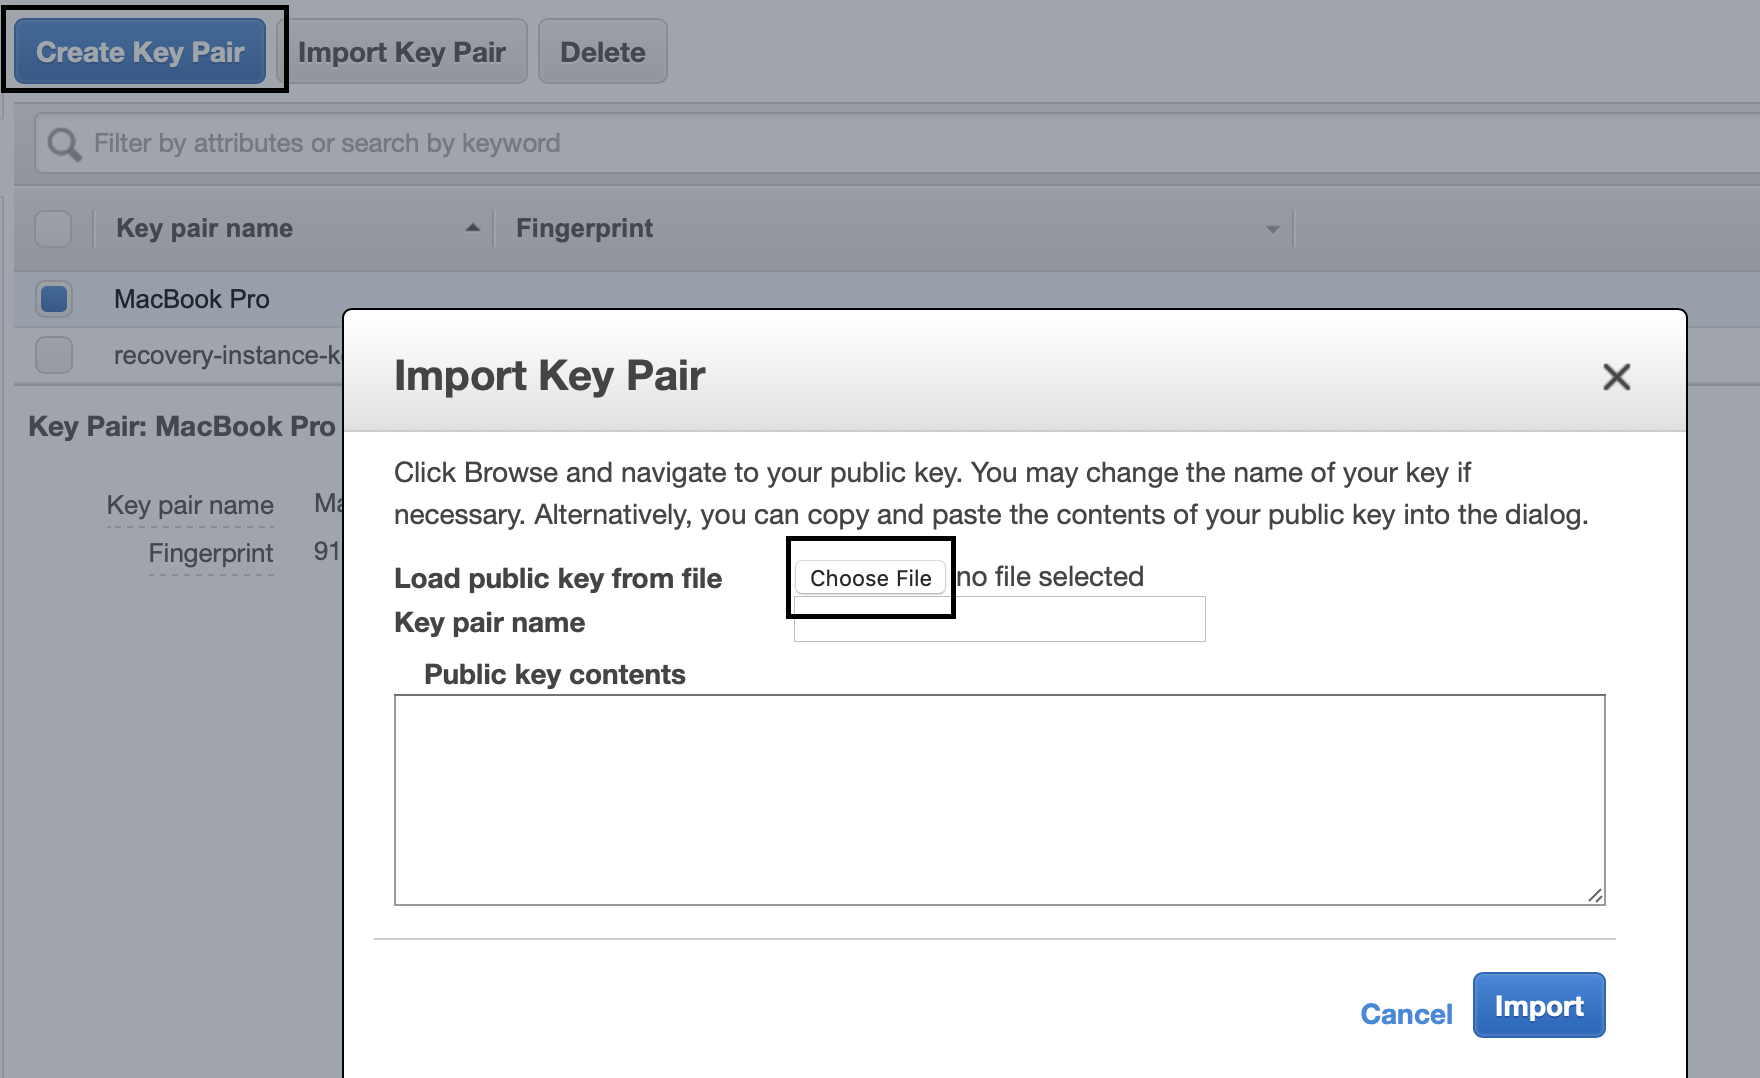
Navigate to the EC2 console, and then in the sidebar under Network & Security, click on Key Pairs. Click on “Import Key Pair” and then either open the id_rsa.pub file or copy its contents into the text field.
Let’s move onto creating the EC2 Instance now.
Creating EC2 Instance
Assuming you have an AWS account, navigate to the EC2 console and click on that big blue Launch Instance button.

For your Amazon Machine Image, you can choose the latest LTS Ubuntu, which at the time of writing is 18.04.
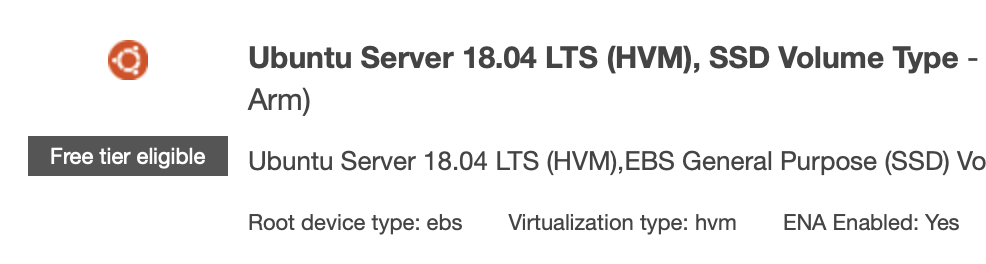
As for the instance type, given the use cases outlined at the beginning of this post – is good enough, and also free tier eligible.

After selecting that you are free to click Review and Launch. The current configuration will* create an instance with the following:
- t2.micro EC2 instance with burst capacity credits
- running Ubuntu 18.04 LTS
- a security group that currently allows SSH access from all IPs
- an EBS storage device with 8gb of storage
* Note: default configurations may change in the future
This configuration is enough to continue, by clicking on that blue Launch button.

A window will appear, and in the select menu select “Choose an existing key pair” and choose the key pair you originally added.
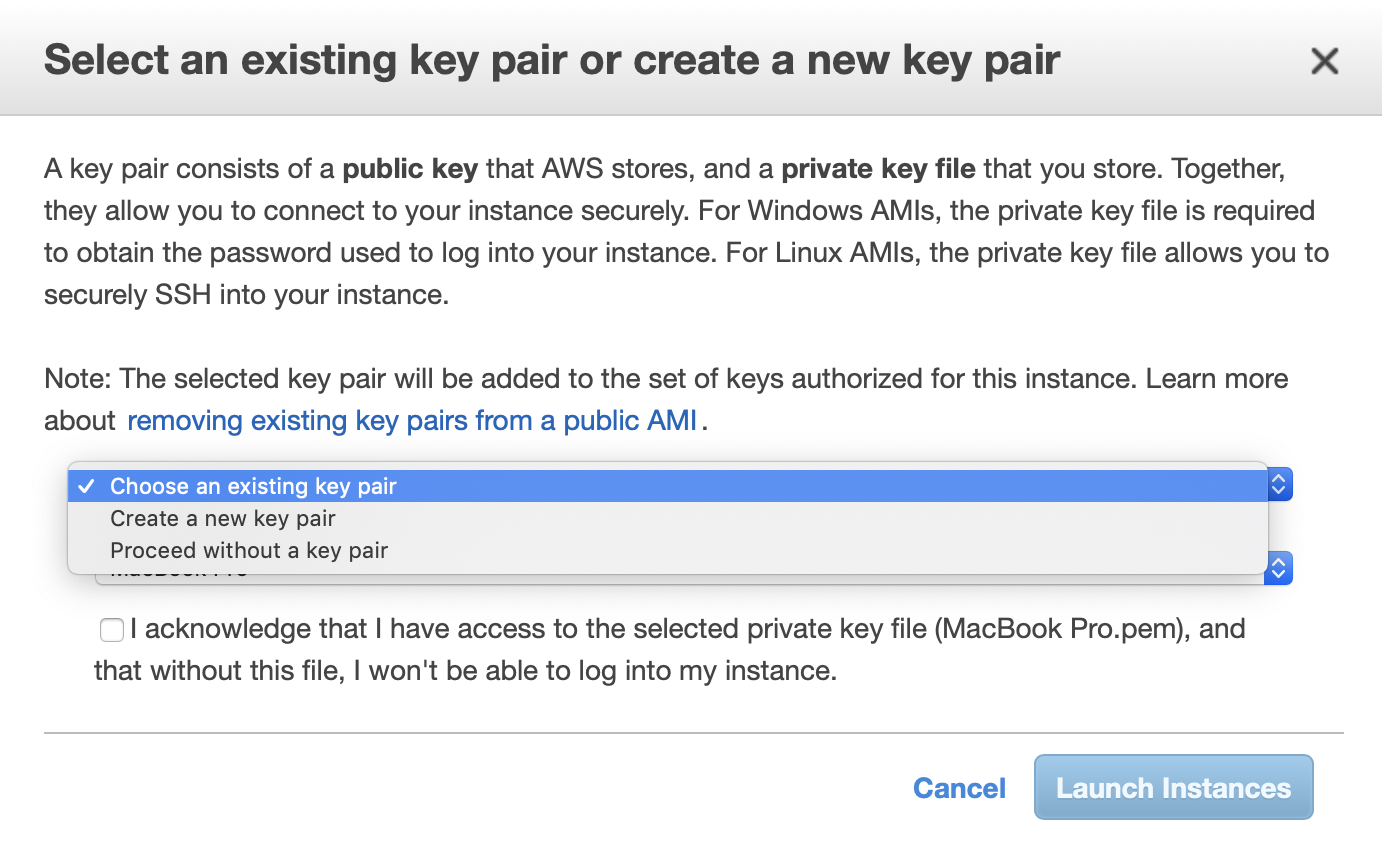
Now you can launch the instance. This will take a few moments.
Logging Into Your EC2 Host
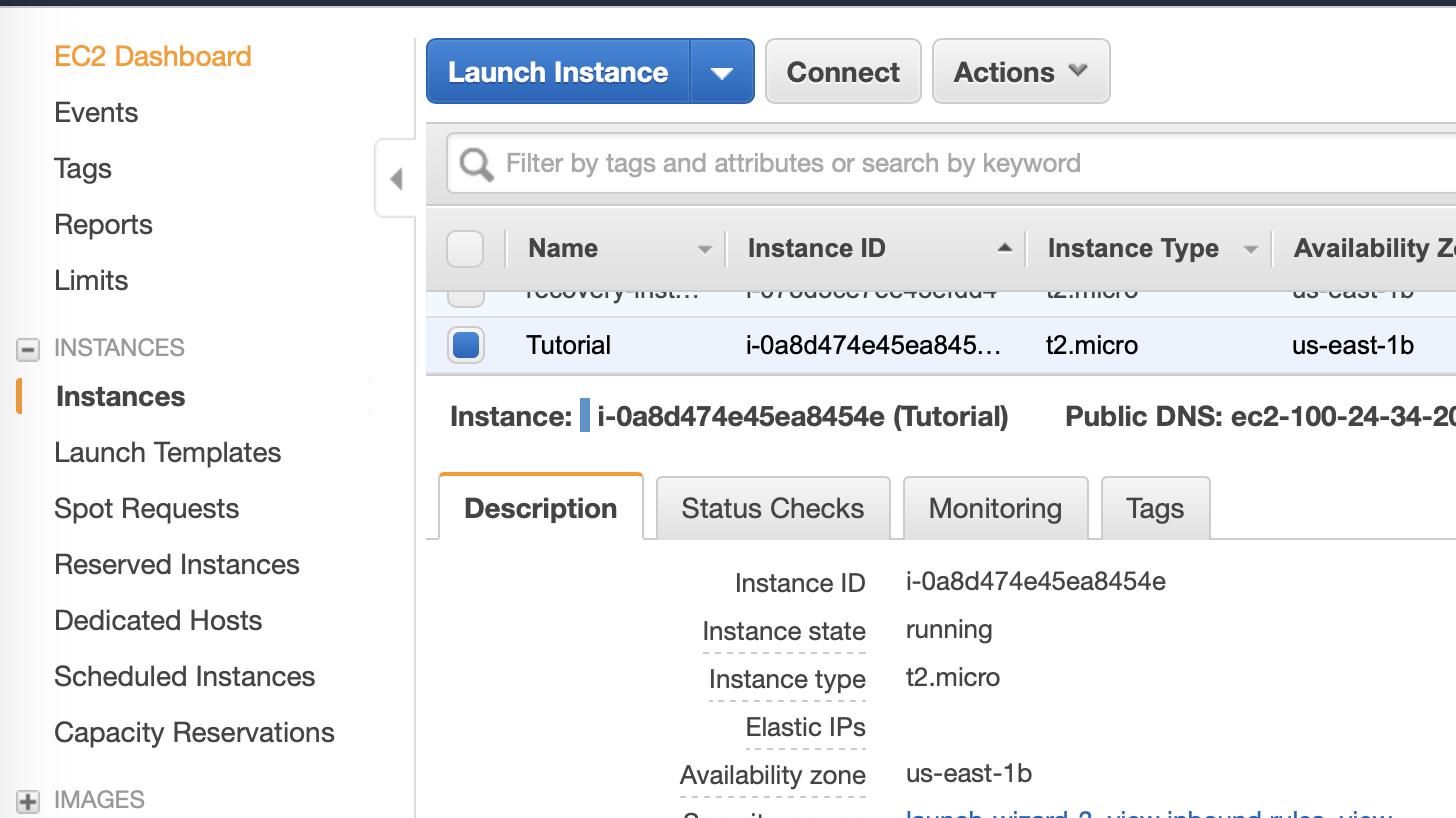
Let’s make sure this host can be logged into. Navigate to the Instances section of the EC2 console, click on the host you just created. I named this one Tutorial ,and you can name it whatever you’d like by hovering over the empty Name field and clicking the pencil icon. In the description tab, there is a Public DNS (IPv4) field. Copy that URL and sub it into the following command:
$ ssh ubuntu@{host url}
Now, execute that command in your terminal and you’ll be logged in.
Mapping To Your EC2 Instance
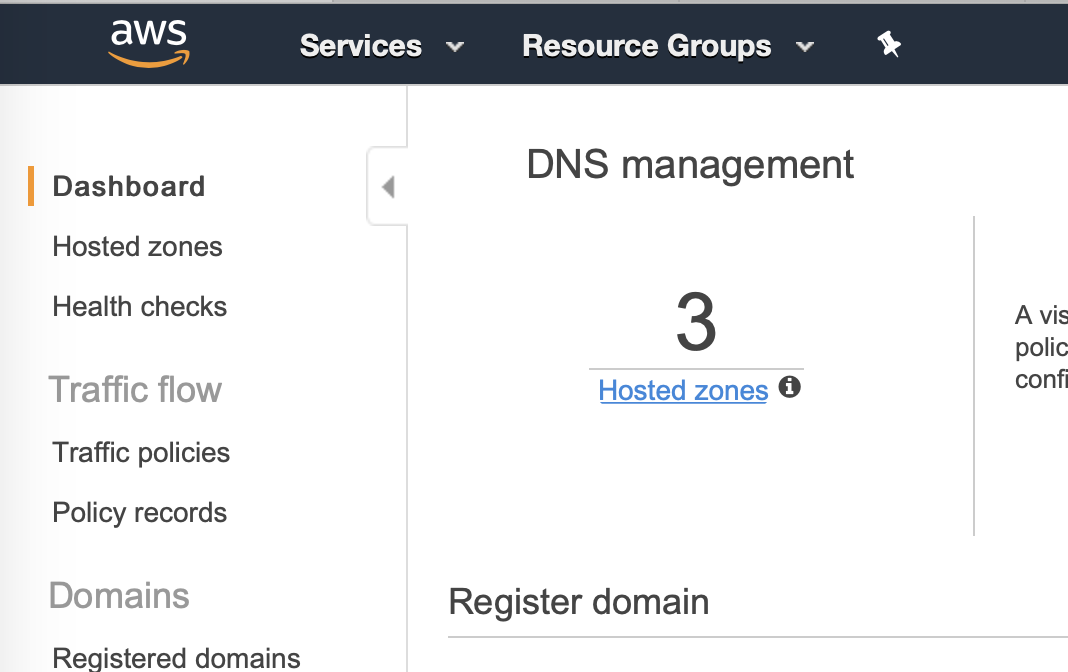
Let’s set up the DNS mapping for the new EC2 instance now. Navigate to the Route53 console and click on Hosted zones.
Click on the zone of your domain, and if there is not already a root A record, click on record a record set.
Your record set will look like the following.
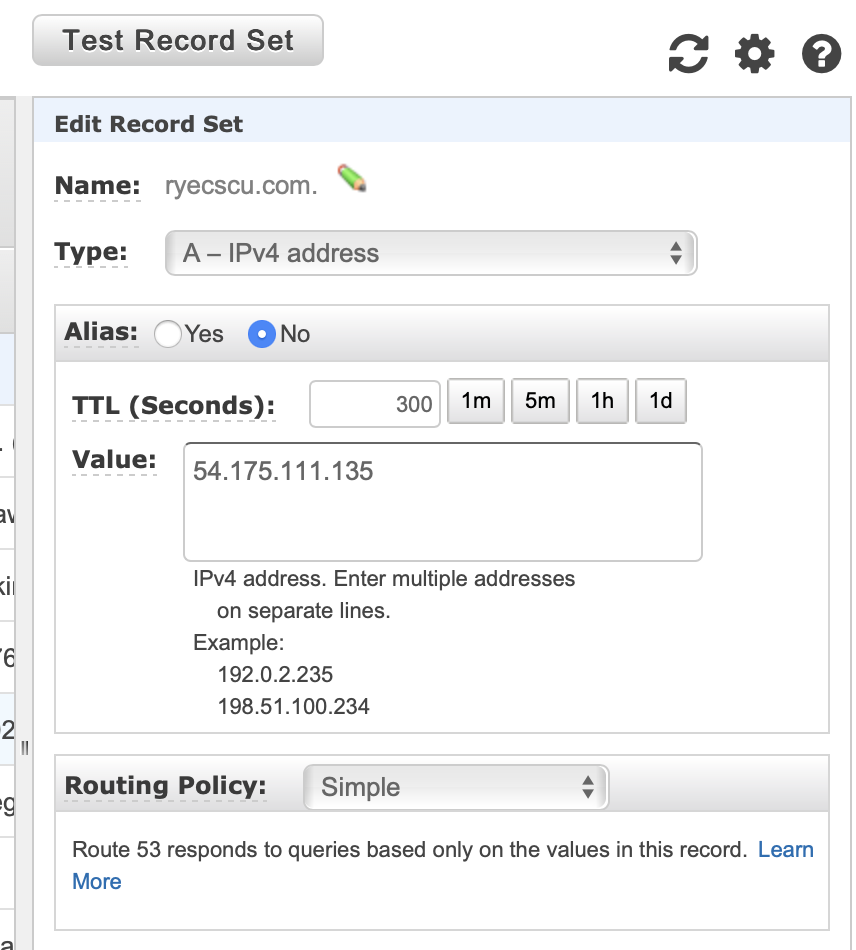
- Name: Keep this field blank unless you are setting up a subdomain
- Type: A
- TTL: 300 (or however many seconds you wish)
- Value: IP of your EC2 host
With the record set up, you should now be able to log into your instance with the following command:
$ ssh ubuntu@{url}
Instead of using the supplied AWS domain.
Security Groups
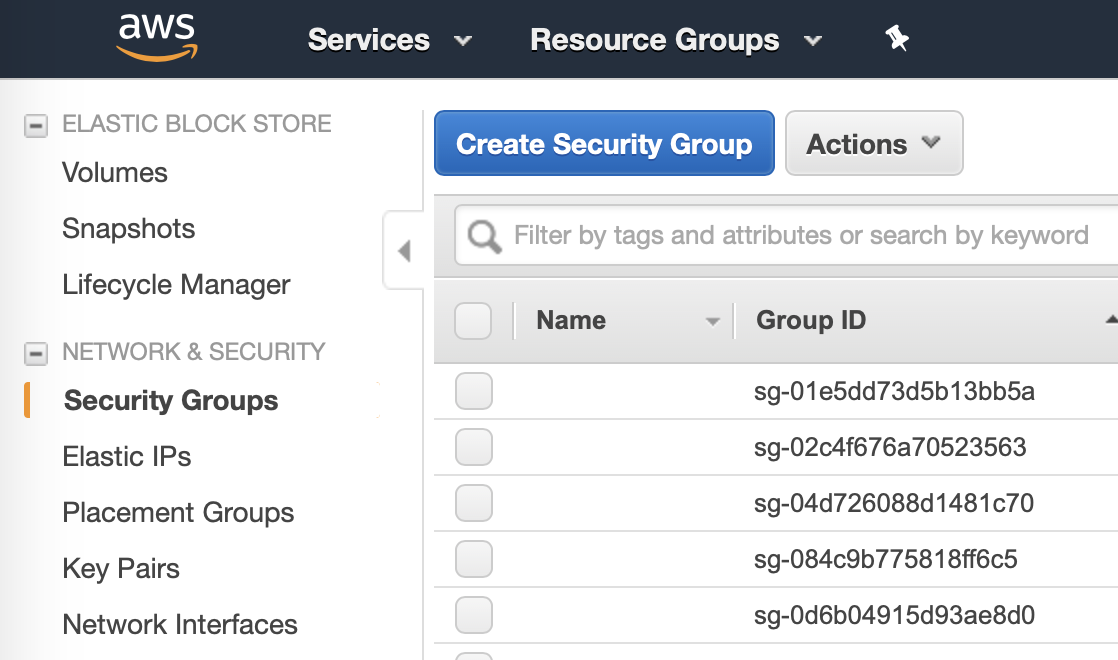
This is the last configuration step required in order to move onto the final step of setting up Ghost. Back in the EC2 console, in the sidebar under Network & Security, click on Security Groups. Click on the Create Security Group button.
In the window that appears, fill out the Security group name and Description with what you want. If your AWS account is new, it should only have one VPC and it should be preselected. If not, the VPC for your instance is in the Description pane under VPC ID.
Now, add the following outbound rules:
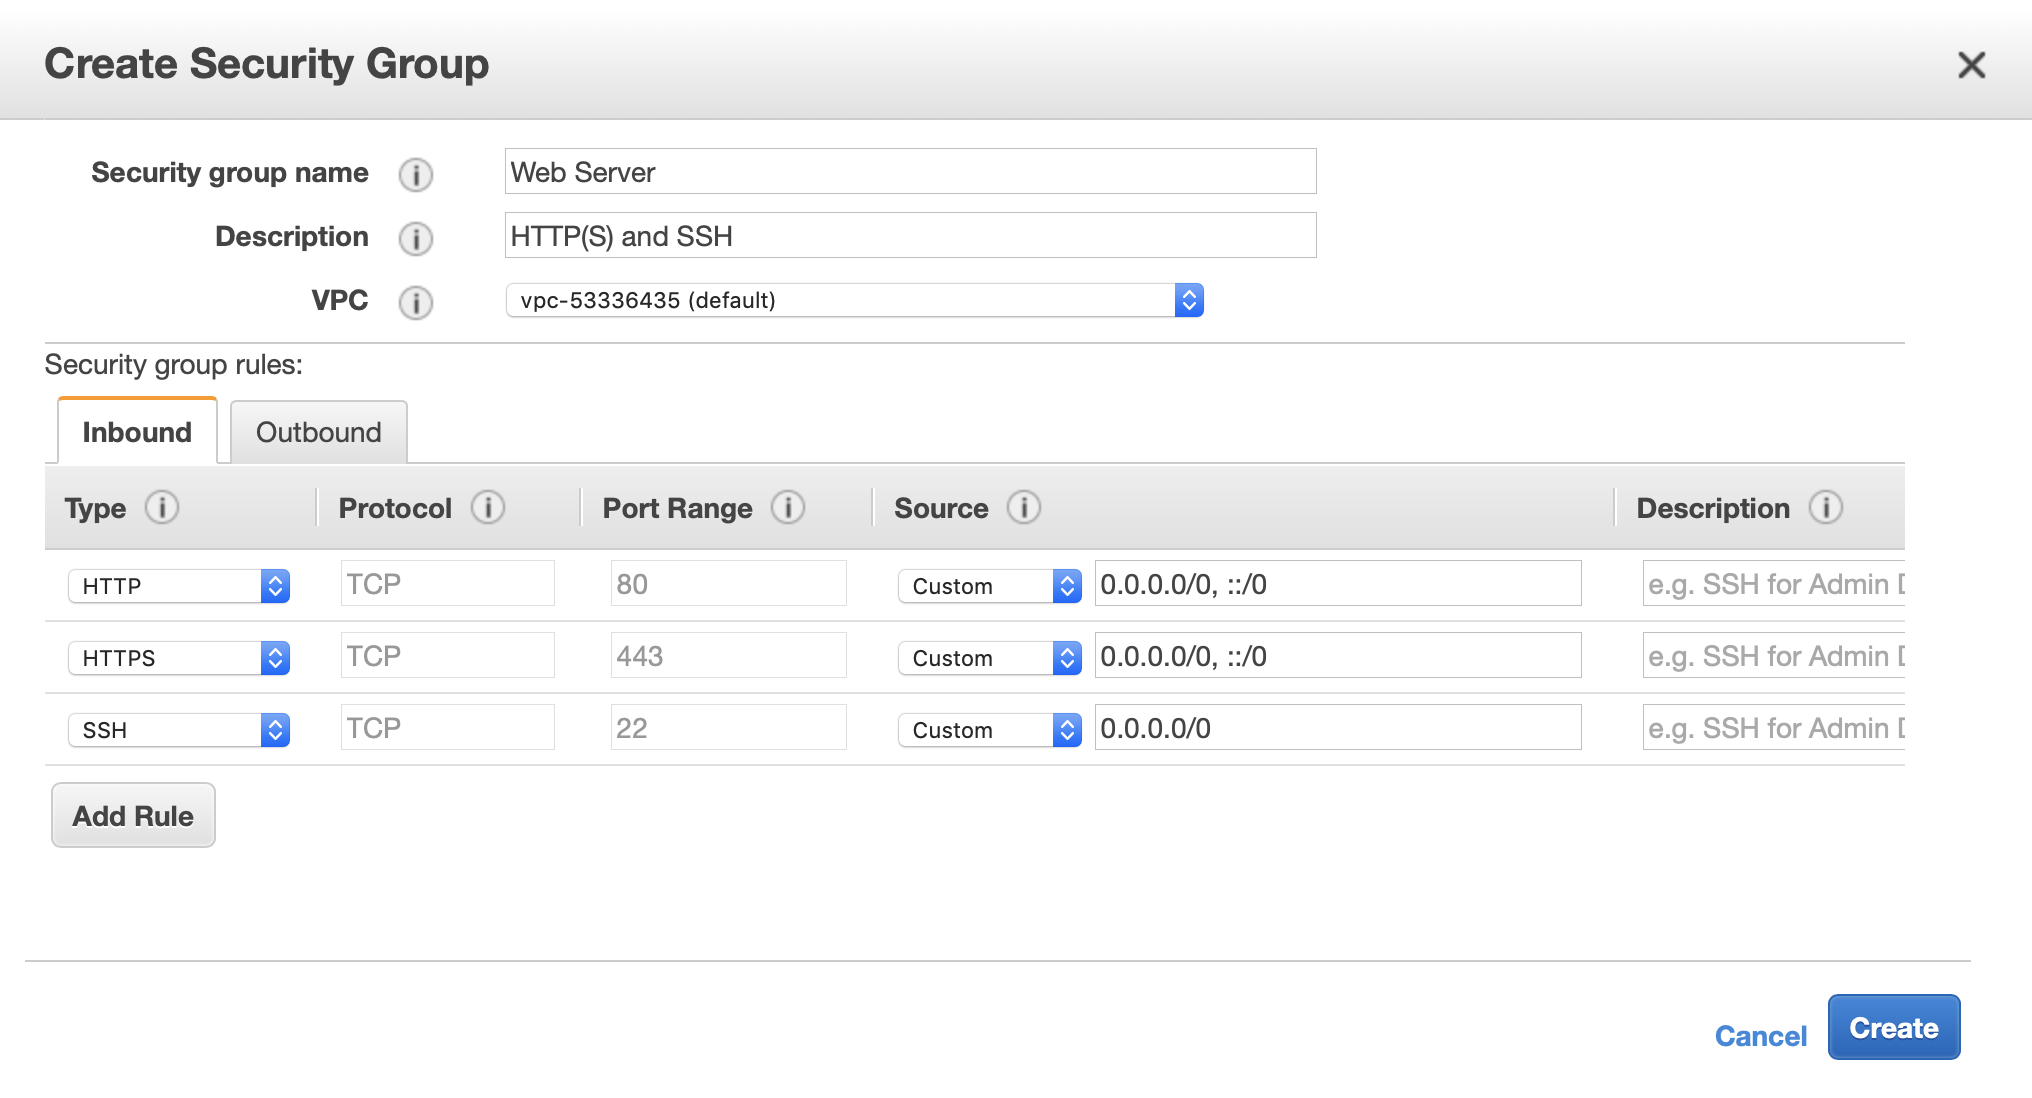
This will allow for all HTTP(S) access to the machine, as well as maintaining SSH access. This is sufficient for web server purposes.
Back in the Instances table view, right click on your instance and select -> Networking -> Change Security Groups.
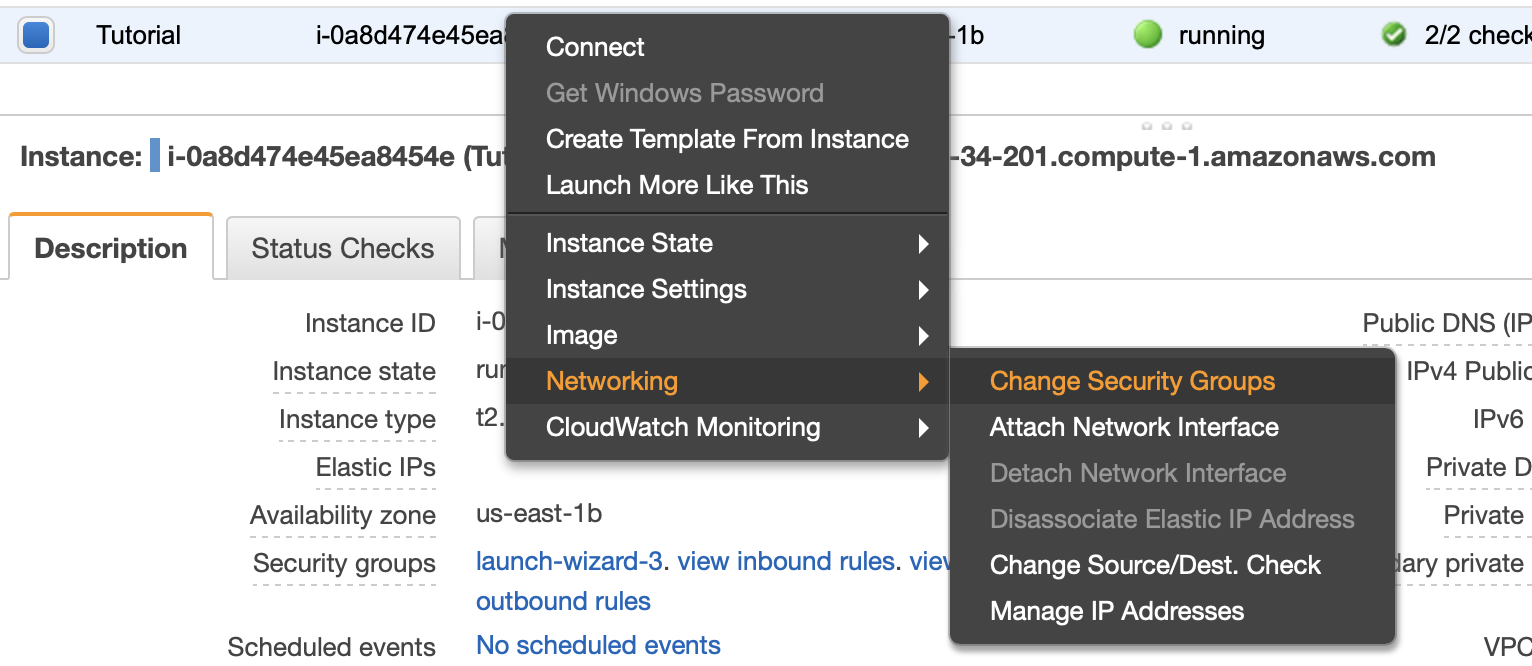
In the window that appears, select the newly created security group. You are now done setting up the infrastructure required to run Ghost on EC2 and route53.
Setting Up Ghost
If all went well, your EC2 instance is ready to host HTTP(S) websites to any domain records that you set up along the way. I’m not going to rewrite the actively maintained Ghost docs. For this step, visit those. Note, should those ever become inaccurate or out of date this link links to the latest git commit of the time of this post writing.
Good luck!